
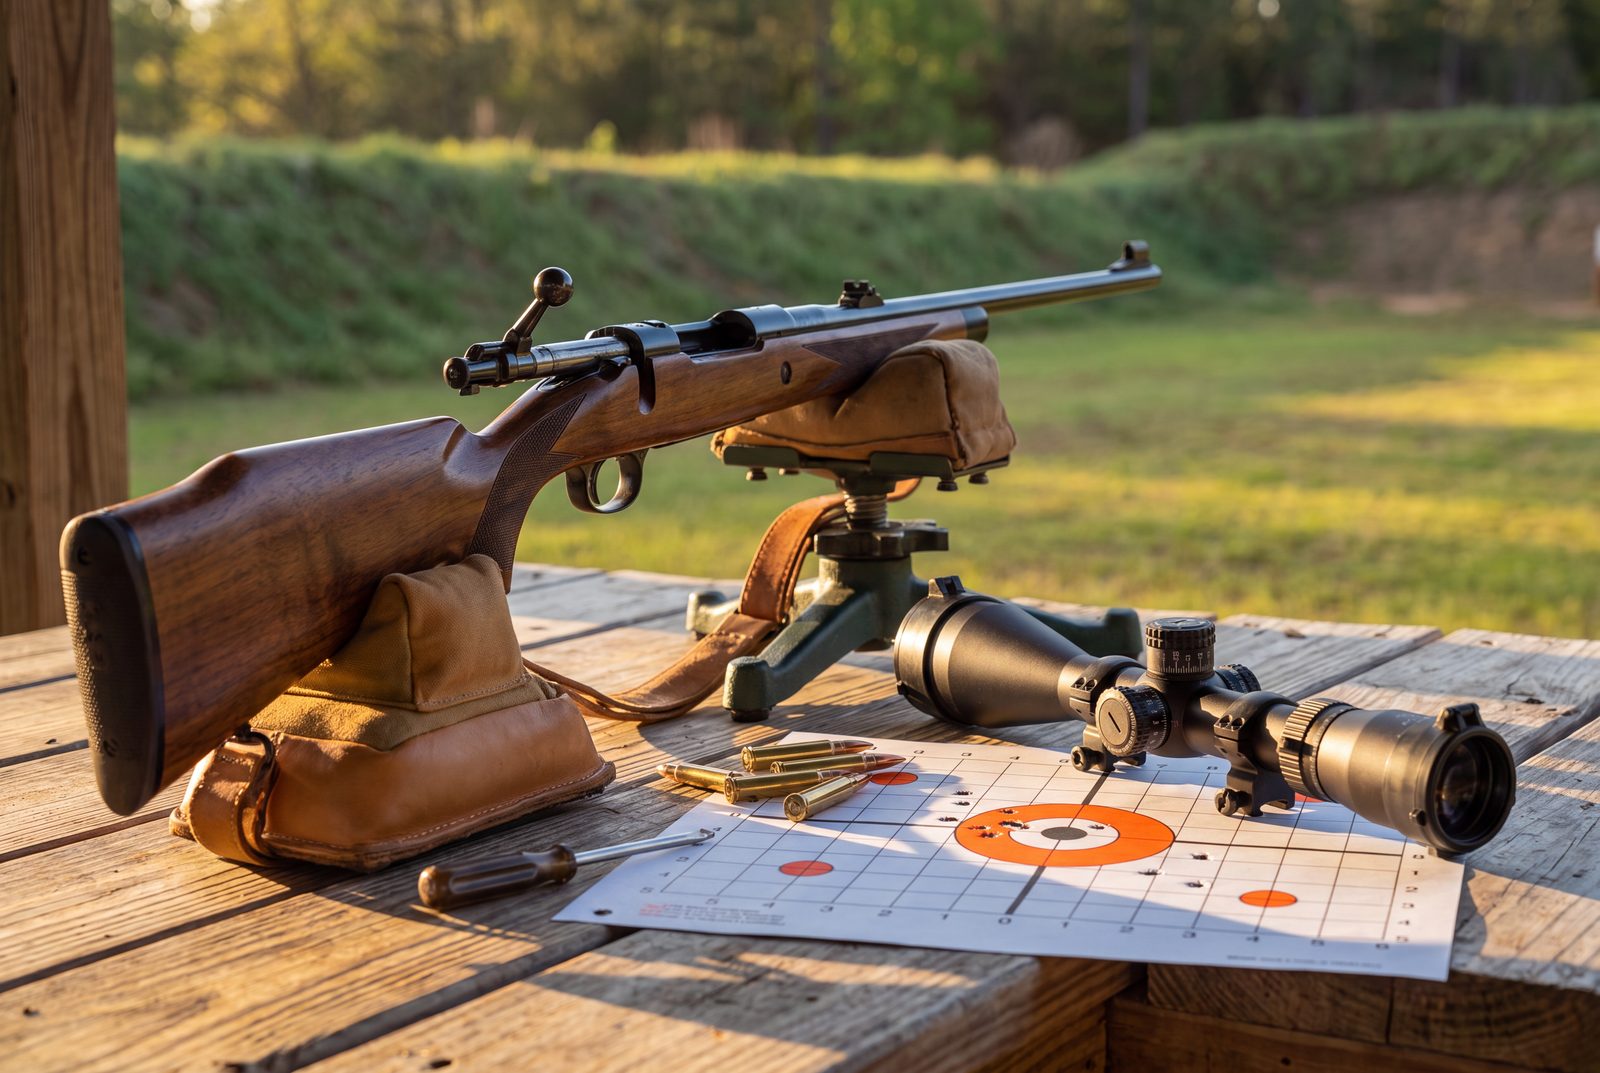
A rifle and scope that aren’t zeroed to each other are just an expensive way to make noise. Zeroing — also called “sighting in” — is the process of adjusting your scope so that where you aim is where the bullet lands at a chosen distance. Do it well and your first cold shot on a hunt or in a match goes exactly where you intend. Do it sloppily and you’ll chase your group around the target all afternoon.
This guide takes you from the very first concept through the advanced details that separate a rifle that’s “close enough” from one that’s truly dialed. We’ll move at the pace of a patient instructor: what zero means, how to do it safely, the turret math, the range procedure, how to pick the right distance, and how to fix a rifle that won’t hold its zero.
What “Zeroing” Actually Means
Every scope has a reticle — the crosshair or dot you place on the target. That’s your point of aim (POA). Where the bullet actually strikes is your point of impact (POI). Zeroing moves the reticle until POA and POI meet at a specific distance, say 100 yards.
Here’s the part beginners miss: a bullet doesn’t fly in a straight line. It leaves the muzzle below your line of sight, arcs upward through it, and eventually falls back down. Because of that arc, a rifle is only ever “dead on” at the specific distance (or, often, two distances) where the bullet’s path crosses your line of sight. Everywhere else, the bullet is a little high or a little low. Understanding that arc is what makes the rest of this guide click into place.
Pro Tip: “Zero” is a relationship between a specific rifle, a specific scope, and a specific load of ammunition. Change the ammunition brand, bullet weight, or even switch scopes and you should re-confirm your zero. A zero is not a permanent setting stamped into the rifle.
Safety First — Before the Rifle Ever Touches the Bench
Zeroing puts you at a bench for an extended session, often next to other shooters, handling the rifle repeatedly between strings. That’s exactly the situation where complacency creeps in. The universal firearm safety rules apply the entire time:
- Treat every firearm as if it is loaded.
- Keep your finger off the trigger until your sights are on target and you’ve decided to fire.
- Never point the muzzle at anything you’re not willing to destroy — keep it downrange at all times.
- Know your target and what lies beyond it.
- Wear eye and ear protection from the moment you step onto the line.
Warning: Any time you go downrange to check or change targets, the firearm stays on the bench, action open, magazine out, muzzle pointed downrange — and you only go forward when the range is called cold and every shooter has stepped back. Follow the Range Safety Officer’s commands without exception. When adjusting turrets or removing a bolt, always confirm the chamber is empty first.
What You Need: The Zeroing Checklist
You can zero with surprisingly little, but a few tools make it faster and burn less ammo:
| Item | Why it matters |
|---|---|
| A stable rest (sandbags, bipod, or a lead sled) | Removes your wobble so you’re testing the rifle, not your hold |
| The exact ammunition you’ll use afterward | Different loads print to different points of impact |
| A gridded zeroing target | 1-inch squares turn “how far off” into a countable number |
| A bore sighter (laser or optical) — optional but helpful | Gets you on paper without wasting rounds |
| The correct screwdriver/hex tools for your turret caps and mount | Prevents stripped screws and lets you check mount torque |
| A notebook or phone note | Record clicks and final settings so you can repeat them |
Pro Tip: Rest the rifle on its forend and stock — never let the barrel itself touch a hard bag or rail. A barrel resting on a hard surface vibrates differently when fired, which throws your group and hides your true zero.
Understand Your Turrets: MOA vs Mil
Your scope adjusts in one of two angular units, and every click of the turret moves your point of impact a set amount. Getting comfortable with this removes the guesswork.
MOA (Minute of Angle). One MOA is an angle that spans very close to 1 inch at 100 yards — precisely 1.047 inches, though rounding to 1 inch is fine for practical field use. Most MOA scopes adjust in 1/4-MOA clicks, so four clicks equal one MOA, which moves your impact about 1 inch at 100 yards. Because MOA is an angle, the inch value scales with distance: 1 MOA covers about 2 inches at 200 yards and 5 inches at 500.
Mil (Milliradian). One mil equals 3.6 inches at 100 yards. Most mil scopes adjust in 0.1-mil clicks, so one click moves your impact 0.36 inches at 100 yards — roughly a third of an inch. Mils scale the same way: 1 mil is 7.2 inches at 200 yards.
| At 100 yards | One click moves POI | Full unit moves POI |
|---|---|---|
| 1/4-MOA scope | ~0.25 in | 1 MOA ≈ 1 in (4 clicks) |
| 0.1-mil scope | ~0.36 in | 1 mil = 3.6 in (10 clicks) |
Neither system is “more accurate” — they’re just two ways of measuring the same angle. What matters is knowing which one your scope uses (it’s printed on the turret) so your adjustments are deliberate, not trial-and-error.
Pro Tip: Do the arithmetic once at the bench: figure out how many inches you’re off, then convert to clicks. On a 1/4-MOA scope, being 2 inches low at 100 yards means 8 clicks up. Counting clicks beats spinning the dial and hoping.
Step 1 — Bore Sight to Get On Paper
Before you fire a single round, get your scope roughly aligned with the bore so your first shots actually land on the paper. The NSSF describes bore sighting as the fundamental first step of live-fire rifle work, and it saves ammo every time.
Visual bore sighting (bolt-action): Confirm the rifle is unloaded. Remove the bolt, set the rifle on a stable rest, and look down the bore at a target set around 25 yards. Center the bore on the target. Without moving the rifle, look through the scope and use the turrets to move the reticle onto that same spot. Now the barrel and reticle are pointed at roughly the same place.
Laser bore sighter: A laser unit (chamber-insert or muzzle-cartridge style) projects a dot downrange. Adjust your reticle until it overlaps the dot. This gets you closer to center than the eyeball method and works on rifles you can’t look through, like an AR-15.
Warning: A bore sighter only gets you on paper — it is not a substitute for live-fire zeroing. Never assume a bore-sighted rifle is ready to hunt or carry. Always confirm with actual rounds downrange.
Step 2 — Fire Your First Group
Set a target at your intended zero distance (100 yards is the classic starting point). Get behind the rifle on your rest with a consistent, repeatable position. Breathe, settle the reticle on the bullseye, and press the trigger straight back without disturbing your aim.
Fire a group of three shots, aiming at the exact same point each time. One shot can lie to you — a flyer, a breath held wrong, a trigger jerk. A three-shot group shows you where the rifle is actually printing. Look at the center of that group, not your best or worst single hole.
Pro Tip: Let the barrel cool between groups. Firing quickly heats the barrel and can open up or shift your groups, tricking you into “correcting” a problem that’s really just heat. Slow down; you’ll finish with fewer rounds and better data.
Step 3 — Adjust the Turrets
Measure how far the center of your group sits from the bullseye — both up/down (elevation) and left/right (windage). A gridded target makes this a simple count of inches.
Now convert inches to clicks using your turret unit, and turn the dials so the reticle “chases” the group toward center. Your turrets are marked with directional arrows — commonly “U” for up and “R” for right — telling you which way each click moves the point of impact.
A worked example on a 1/4-MOA scope at 100 yards: your group centers 1 inch low and 2 inches right of the bull. One inch is 4 clicks, so you go 4 clicks up. Two inches is 8 clicks, so you go 8 clicks left to bring the group off the right side and into center.
Pro Tip: Adjust elevation and windage as two separate problems and it never gets confusing. Fix vertical first, confirm, then fix horizontal. Trying to solve a diagonal miss in one move is where beginners over-correct.
Step 4 — Confirm and Reset
Fire another three-shot group. If the center now sits on the bullseye, you’re zeroed. If it’s still off, repeat the measure-convert-adjust cycle — you’ll usually need only a small final tweak. Confirm with one more group so you know it wasn’t luck.
Many scopes let you loosen the turret cap and re-index it so the “0” mark lines up with your zero. Do this once you’re satisfied: it gives you a reference point to return to if you ever dial for a longer shot and want to come back to your baseline.
Pro Tip: Write down your final settings and the exact ammunition you used. A zero recorded in a notebook survives a bumped turret, a travel case, and a full year between hunting seasons.
Choosing Your Zero Distance
“100 yards” is a fine default, but the best zero depends on what you’re doing with the rifle. Because the bullet arcs through your line of sight, a well-chosen zero can keep you close to point of aim across a useful range of distances without any holdover.
| Zero distance | Best for | Trade-off |
|---|---|---|
| 25 or 36 yards (as a starting/near zero) | Getting on paper; a rough near-zero that echoes a farther one | Not a final zero on its own for most uses |
| 50/200-yard zero | AR-15 / 5.56 and similar carbines; general-purpose use | Bullet rides slightly high (~1.5 in) around 100 yards |
| 100-yard zero | Precision practice, most bolt-action hunting inside ~250 yards | Requires more holdover as distance grows |
| Longer (e.g., 200+ yards) | Open-country hunting, known longer engagements | Bullet flies notably high at mid distances |
The popular 50/200 zero for 5.56 carbines is a good illustration of the arc at work: the bullet crosses the line of sight around 50 yards on the way up and again near 200 yards on the way down, staying within a couple of inches of aim the whole way. That’s why so many carbine shooters favor it — point and shoot across common distances with minimal thinking.
Pro Tip: Match your zero to the ranges you’ll actually shoot. A deer hunter working timber at 75–150 yards and a prairie hunter reaching past 250 have genuinely different best answers. Don’t copy a zero off the internet without matching it to your rifle, load, and terrain.
Advanced: Cold Bore, Parallax, and Holding Your Zero
Once you’re on paper and centered, a few finer points separate a good zero from a dependable one.
The cold-bore shot. The first round through a clean, cold barrel can print slightly differently than the warm, fouled shots that follow. For hunting and defensive use — where you rarely get a warm-up — your cold-bore point of impact is the one that matters most. Confirm your zero with first-round-cold shots across a couple of range trips, not just the tail end of a hot string.
Parallax. On higher-magnification scopes, if your eye isn’t perfectly centered behind the optic, the reticle can appear to float against the target and shift your true aim. Many scopes have a side or objective parallax adjustment; set it for your distance, and build the habit of a consistent, centered head position (cheek weld) so your eye lands in the same place every shot.
Mount and torque. A scope is only as steady as the base and rings holding it. Loose ring or base screws are a leading cause of a “wandering” zero. Snug them to the manufacturer’s specified torque before you zero, and re-check them periodically.
Warning: Any statement about a specific load’s trajectory, a scope’s click value, or a rifle’s behavior should be verified against your own equipment and the manufacturer’s manual. Ballistics vary with barrel length, altitude, temperature, and lot-to-lot ammo differences. Confirm on paper — never assume.
Troubleshooting: Why a Rifle Won’t Hold Zero
If your point of impact keeps wandering, work through the usual suspects before blaming the rifle:
- Loose mount hardware. The number-one culprit. Check base and ring screws for correct torque.
- Inconsistent rest or barrel contact. A barrel touching the bag, or a different hold each shot, will scatter groups. Rest on the forend/stock and be consistent.
- Parallax or head position. An off-center eye moves your aim without you realizing it.
- Mixed ammunition. Different brands and bullet weights print to different points. Zero with, and stick to, one load.
- Heat and rushed strings. A hot barrel opens groups. Let it cool.
- A damaged or maxed-out scope. A turret spun to the end of its travel, or internal damage from a drop, can’t be adjusted out — the scope or mount may need service.
Work these one at a time, changing a single variable per group, and the real cause almost always reveals itself.
Putting It All Together
Zeroing rewards patience. Confirm the rifle is safe, get roughly aligned with a bore sight, fire disciplined three-shot groups, convert your miss into clicks, and confirm. Choose a zero distance that fits how you actually shoot, then tighten it up with attention to cold-bore behavior, parallax, and a properly torqued mount. Done right, you’ll spend less time and ammo at the bench and walk away with a rifle you can trust to put the first shot exactly where you’re looking.
Frequently Asked Questions
How many clicks do I move the scope for 1 inch at 100 yards?
On a typical 1/4-MOA scope, four clicks move your point of impact about 1 inch at 100 yards. On a 0.1-mil scope, it’s roughly three clicks (each click is about 0.36 inch). Always check which unit is printed on your turret.
Should I zero my rifle at 25, 50, or 100 yards?
Use a short distance like 25 yards mainly to get on paper, then finish your zero at the distance that fits your use. A 50/200-yard zero suits most 5.56 carbines; 100 yards is a solid default for precision practice and most bolt-action hunting inside about 250 yards.
Which way do I turn the turret — toward or away from my group?
Turn the turret so the reticle moves your point of impact toward the bullseye. If your group is low, dial “up”; if it’s right, dial “left.” The directional arrows on the turret show which way each click moves impact.
Do I need a bore sighter to zero a scope?
No, but it helps. Bore sighting — visually through the bore or with a laser — gets your first shots on paper so you don’t waste ammo hunting for the target. It’s a starting point only; you still must confirm with live fire.
Why does my rifle lose its zero?
The most common causes are loose scope mount or ring screws, inconsistent rest and barrel contact, parallax or head-position errors, and switching ammunition. Check torque first, standardize your hold and load, and change one variable at a time.
Does changing ammunition change my zero?
Yes. Different brands, bullet weights, and even ammo lots can print to a different point of impact. Whenever you change loads, re-confirm your zero on paper before trusting it.
What is a cold-bore shot and why does it matter?
It’s the first shot from a clean, cold barrel, and it can land slightly apart from warm-barrel shots. For hunting or defense, where the first shot counts most, verify your zero with first-round-cold hits across multiple range trips.